Friday, 5 August 2011

Turkey Burger with Greek Feta Salad


Turkey burgers represent not only a leaner, healthier option than beef or pork burgers, they in some way also seem a bit lighter and more appropriate to hot summer weather. This is despite the fact that turkey in many countries is most associated with the colder weather occasions that are Thanksgiving and Christmas. This recipe is for an all but one hundred percent turkey burger, with only a little seasoning added. Served with a crunchy and delicious Greek feta salad, it is perfect for serving on a summer's night as an alternative to the more traditional burger and fries.

Ingredients per Serving

1/2lb minced/ground turkey
1 tsp freshly chopped mint leaves (plus one extra leaf for garnish)
1 fresh bread roll (not a burger bun)
3 large lettuce leaves (or 1 whole Baby Gem lettuce)
1 medium tomato
3" cucumber
1/2 small red onion
6 pitted black olives
6 pitted green olives
2oz Greek feta cheese
Extra virgin olive oil
1 tbsp soured cream
1 clove of garlic
Salt and freshly ground black pepper
A little vegetable oil for frying


Method

Place the turkey in to a glass or stone bowl. Add the chopped mint and season with salt and pepper. Mix thoroughly by hand before shaping the mixture in to a round ball. Flatten between the palms of your hands to an even thickness of just less than one inch.


Pour a little vegetable oil in to a non-stick frying pan. Bring up to a medium heat before adding the burger. Fry gently for ten minutes each side, to ensure that the burger is fully cooked prior to serving. Do not press down on the burger as it is cooking, as this serves only to force the juices out in to the pan, making your cooked burger drier and less tasty than it would otherwise have been. The only time it should be touched during cooking is when it is turned with a spatula at the half way stage.


When the burger is on to cook, start preparing your salad. Wash and dry the lettuce leaves. Shred them and add them to a large bowl. Finely slice the red onion and roughly chop the tomato and cucumber. Add to the bowl with the lettuce, drizzle with a little olive oil, season with salt and pepper and toss lightly. Arrange on a large serving plate.

The feta cheese can be crumbled or diced with a knife, before being scattered over the top of the salad with the whole olives.


Spoon the soured cream in to a small bowl. Peel and grate the garlic clove in to the soured cream. Stir well and set aside.

When the burger is cooked, push the pan off the heat for it to rest for a few minutes while you half and lightly toast the bread roll. Lay the two halves of the toasted bread roll on the serving plate, next to the salad, cut sides uppermost.


Place the burger on the bottom half of the toasted bread roll. Carefully spoon on the garlic soured cream and tear the whole mint leaf in to rough pieces before scattering them over the top. Serve as is, or place the top of the roll carefully in place.

Wednesday, 3 August 2011

Pan Fried Fillet of Sea Bass with Buttered New Potatoes and Broccoli


Sea bass is a delicious eating fish but it can be fairly expensive. This means that it is doubly important to know how to cook sea bass in order to get the best value from your purchase. This way of cooking fillet of sea bass could not really be much simpler but it really brings out the natural flavours in the fish and is a perfect way of enjoying sea bass to the full.


The potatoes used in this recipe are new season Ayrshire potatoes from the West of Scotland. The potato varieties available will of course vary hugely by geographical location but you are essentially looking for small, new, salad potatoes.

Ingredients per Serving

1 fillet of fresh sea bass (skin on)
5 to 7 small new potatoes
1/2 small head of broccoli
5 or 6 fresh mint leaves
1oz unsalted butter for frying
1/2oz unsalted butter for potatoes
1 tbsp plain (all purpose) flour
Salt and freshly ground black pepper
Wedge of lemon to garnish


Method

The first step is to get your potatoes on to boil. I would normally cook small salad potatoes whole and unpeeled. These particular potatoes were just a little bit on the large side, however, so although I didn't peel them, I did cut them in half. Be sure to add them to cold water and not hot, which should be seasoned lightly with salt. Bring to a boil and simmer for twenty-five to thirty minutes until soft.

It was many years ago that I first heard it said that vegetables which grow below the ground should be started cooking in cold water, while those which grow above the ground should be started in boiling water. I have always found this a good rule to cook by and therefore the broccoli florets are added to a pot before a little salt and boiling water are added to fully cover them. The broccoli is simmered for seven to eight minutes and no longer.


Spoon the flour on to a large dinner plate and season with salt and pepper. Add the ounce of butter to a large, non-stick frying pan and gently melt over a medium heat. Pat the skin side only of the bass fillet in the seasoned flour. Shake off the excess flour and place it skin side down in the frying pan.


A fillet of sea bass such as this will not take long to cook. After a couple of minutes, you should be able to see that it is cooked almost all the way through. Turn the heat down to low and carefully turn the fish to cook for a final minute on the flesh side.


While the sea bass is cooking, the potatoes and broccoli should be drained through colanders. Return the potatoes to the empty pot, add the half ounce of butter and the roughly chopped mint leaves. Gently swirl to ensure even coating.


Plate the sea bass with a fish slice, skin side uppermost. Add the broccoli and potatoes to the plate. Garnish the sea bass fillet with a wedge of lemon and serve immediately.

NB - You will see from the image below that the skin, which should have crisped up nicely during frying, will easily peel away from the fillet with the gentle assistance of a dinner knife. This could even be done prior to service if desired.

Tuesday, 2 August 2011

Summer Salad Platter - A Hearty Meal for One or Side Salad for Four


If the summer heat is continuing to have an effect on your appetite and enthusiasm for food, this really simple summer salad platter may represent the perfect choice for your dinner tonight. It is served cold and the only cooking required is the boiling of the eggs. Alternatively, if you are in a similar position to me, (I am sitting typing this as the wind lashes the rain against my window on a fairly typical, Scottish summer's day) you may wish to prepare this salad and serve it as a side salad to a more substantial meal, for up to four people.

Ingredients per Platter

1 Little Gem (Cos) lettuce
1/2 red onion
4oz soft buffalo mozzarella cheese
12 pitted black olives
2 sticks of celery
1 tbsp raisins
2 tbsp canned red kidney beans
2 tbsp canned haricot beans
2 medium tomatoes
4" piece of cucumber
2 eggs
Salt and freshly ground black pepper
1 tbsp roughly chopped parsley, or other herb of choice, to garnish

Note: You may not of course have a sectioned plate similar to the one I have used upon which to serve your salad platter. If you are interested in obtaining similar plates, I will include some available options at the end of this post.

Method

Ensure that your eggs are at room temperature and not straight from the refrigerator. Place them in a small pot or saucepan and add enough cold water to comfortably cover the eggs. Put the pot on to a high heat until the water begins to boil. Reduce the heat and simmer gently for seven minutes. Take the pot to the sink and run cold water in to it for about thirty seconds, until the eggs are cool enough to be handled. Crack the eggs gently all around on a hard surface, such as your worktop. Shell the eggs carefully under running cold water. Add the shelled eggs to a bowl of cold water to cool them quickly. Allow at least twenty minutes.


Wash the celery sticks and dry them thoroughly. Cut any damaged ends off and discard. Slice the celery across the way to a thickness of around a quarter inch. This should leave you small, kidney-shaped pieces of celery. Mix with the raisins and add to one part of your plate.

Strip the leaves from the lettuce, wash and dry. Shred the lettuce leaves and finely slice the half red onion. Mix together with your fingers, being sure to separate the onion strands. Add to a separate section of the serving plate.

Dice the ball of mozzarella to about half an inch. Half each of the pitted olives. Mix together and plate.

The beans should be of the type canned in water. Wash them in a sieve or colander under running cold water. Shake dry and plate.


When you come to slice the cucumber, do so at a forty-five degree angle. This will give you slightly bigger slices and make for better presentation on the plate. Thinly slice also the tomato and - carefully - the hard boiled eggs. Arrange the tomato, cucumber and egg slices alternately in the centre of the plate.


The parsley or other herb should be washed and roughly chopped. Do not chop and chop away at the herb until you lose all the flavour in the form of a green stain on your chopping board. Scatter it over the salad serving platter, season with salt and pepper and your delicious summer salad platter is ready for the table.


Monday, 25 July 2011

Spicy Szechuan Chicken Wings with Summer Salad and Bruschetta


Feeling the summer heat? Are hot and spicy chicken wings the last thing on your mind right now? Maybe these chicken wings, still hot and spicy but served cold with a simple summer salad and some easy made Italian bruschetta would be just what the doctor ordered for dinner tonight. They are perfect for eating outside, served with a freezing cold beer.
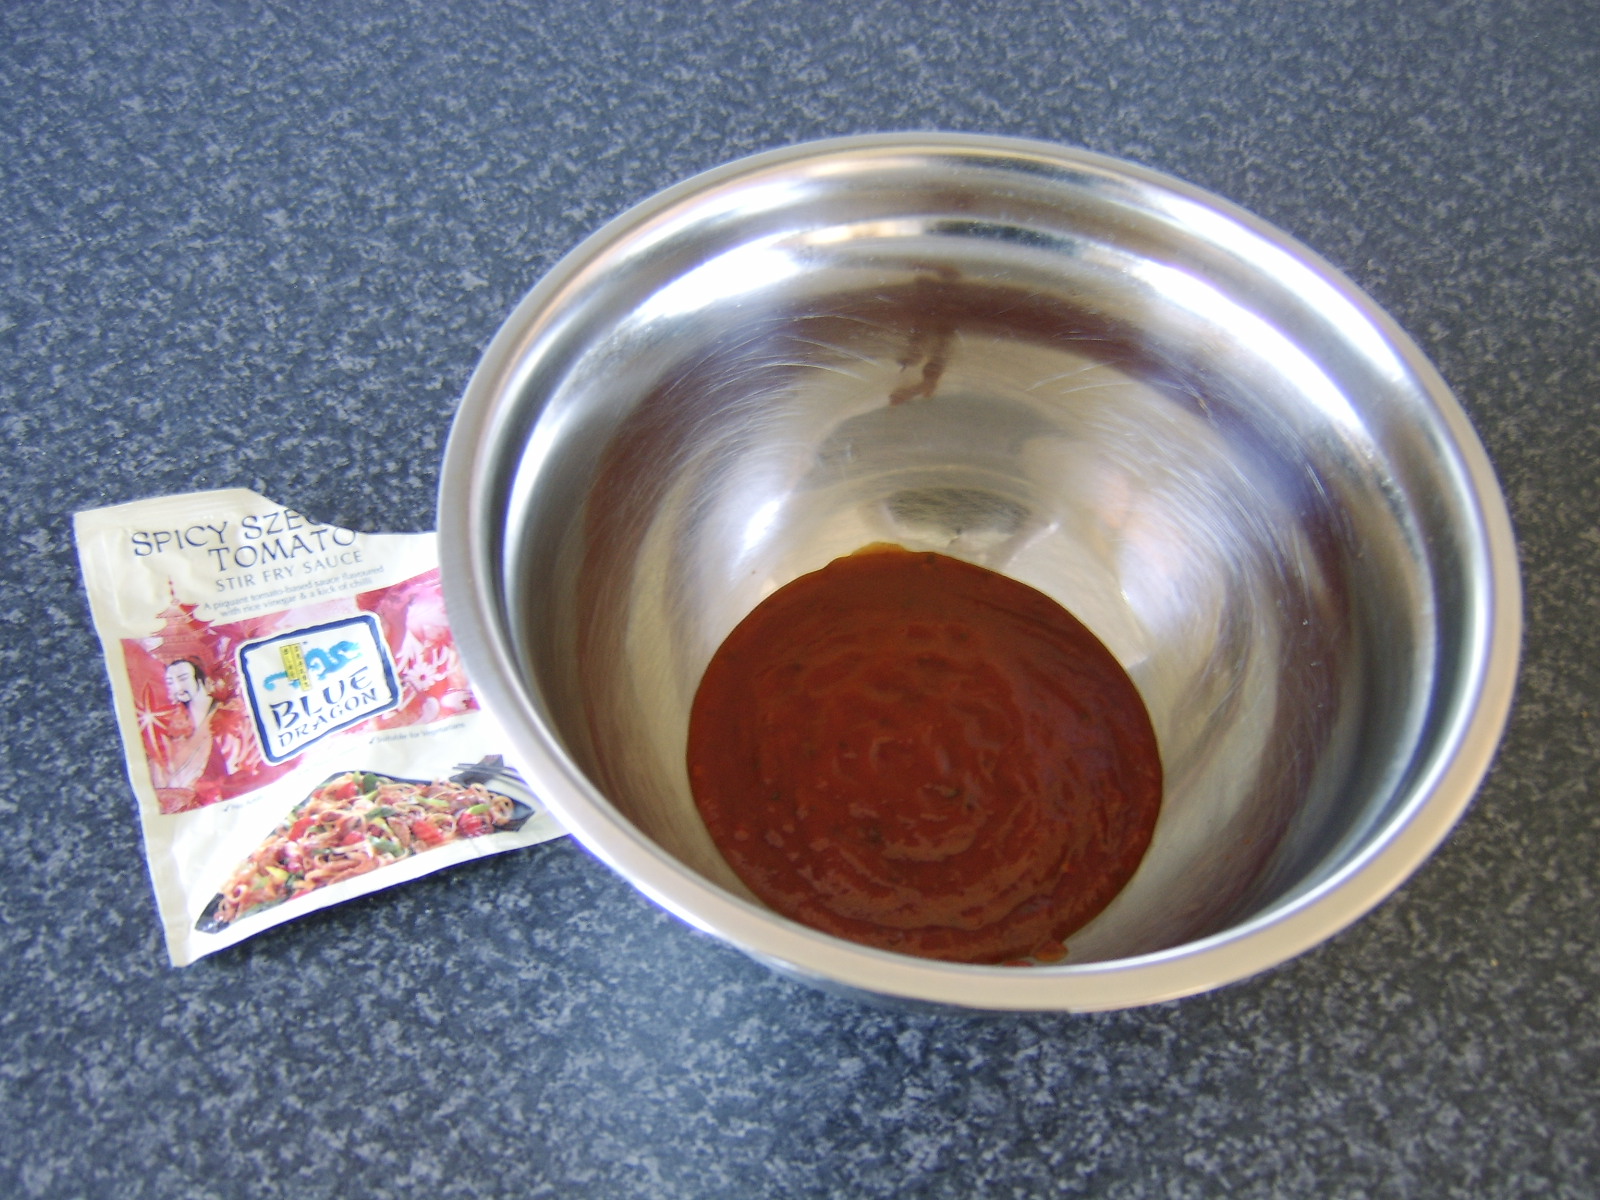

These wings can equally well be served hot but if serving them cold as I have done, you will have to cook them at least a couple of hours in advance. The sauce which I have used is simply a 4oz pack of stir fry sauce but you can use sauce from a larger jar. This will be perfect for a pound, to a pound and a quarter, of chicken wings.

Put the sauce in to a large bowl and add the chicken wings. Stir carefully and well. If time permits, cover and refrigerate for an hour or so to marinate.


Preheat your oven to 400F/200C. Spread the wings out in a single layer on a large baking sheet or roasting tin. Cook for thirty-five minutes. Remove the tray from the oven, cover with foil and set aside to rest and cool.

Ingredients per Person for Salad and Bruschetta

1 Little Gem lettuce
1 large tomato
1/2 small onion
1 Ciabatta bread roll
1 clove of garlic
Extra virgin olive oil
Sea salt and freshly ground black pepper


Wash the lettuce and roughly chop. Finely slice the onion and cut the tomato in to six segments. Season with salt and pepper, mix carefully together and arrange on a serving plate.

As the bruschetta is going to be served hot, we want everything else ready to serve before we prepare it. Lay your chicken wings therefore on a separate plate and scatter with some freshly torn basil leaves to garnish.


The Ciabatta roll should be halved horizontally. Preheat an overhead grill and toast the halves of the roll on both sides until beautifully golden. Lay them cut side up on a chopping board.


Peel the garlic clove and lightly crush it under the blade of a large knife. This simply helps to release the juices and impart the flavour in to the toast. Rub the garlic clove over both slices of toast and discard.

Drizzle a little extra virgin olive oil over the toast, season with salt and black pepper, arrange by the salad as shown and serve immediately.


Sunday, 10 July 2011

Vegetarian Naan Bread Pizza with Mixed Bell Peppers


Traditional pizza is probably one of the food types most suited to vegetarians. Lush tomato sauce, on freshly made bread, topped with fresh Mediterranean vegetables and cheese. This recipe is very much along those lines but in order to provide a little bit of variety, the base of the pizza is an Indian naan bread, rather than the traditional Italian type made in a pizza pan.

Ingredients

1 10" long naan bread
1 8oz can of chopped tomatoes in tomato juice
3 mixed bell peppers
1 clove of garlic
1/2 tsp dried basil
4oz cheddar cheese
Salt and freshly ground black pepper
Handful of fresh rocket/arugula leaves for garnish if desired


Method

The first step is to make the tomato sauce for the pizza, as it will require to be cooled before it is spread on the pizza. Pour the tomatoes in to a saucepan. Peel and grate the garlic clove in to the pan and season with salt, black pepper and the dried basil. Heat until the mixture reaches a simmer and turn down the heat to minimum. Simmer gently for fifteen to twenty minutes, stirring frequently until a smooth, velvety sauce is formed. Cover and allow to cool completely.


This recipe uses one red pepper, one green and one yellow, simply to afford the finished dish some colour. Any combination of peppers can, however, be used. Top and tail the peppers, de-seed and slice to a thickness of around a quarter of an inch.


Put your oven on to preheat to 450F/220C/Gas mark 8. Lay the naan bread on a large baking tray and spread the cooled tomato sauce evenly over the top, leaving a narrow border around the edge, both to prevent spillage and to allow a crust to form.


Lay the slices of pepper alternately on the naan bread and sauce as shown. Do not add too many slices, even if it means having some left over, as this would affect how evenly the naan pizza cooks.


The cheese should be grated and spread evenly over the top of the bell peppers. Season with plenty of freshly ground black pepper and place in to the oven for ten minutes.


When the pizza is ready, transfer it to a plate and scatter over the fresh rocket/arugula or fresh herb of choice, if desired. Serve immediately.

Monday, 27 June 2011

Roast Chicken Leg Quarters and Mozzarella Toast


About a week to ten days ago, I was working on a project featuring good food ideas for fishing trips. As most fishermen will know, there are certain food types which are simply not practical to take along with you to eat for your lunch or dinner on a fishing trip, especially where you happen to be bait and/or sea fishing. For example, sandwiches which ooze mayo or any other type of filling over your hands when you bite in to them would not be a good idea. One of the suggestions I did come up with in this respect was to have a whole roast chicken the night before a fishing trip and reserve the leg portions for lunch the next day. Alternatively, I suggested that chicken leg portions could be bought individually for this purpose. With this in mind, this recipe is a combination of a really easy dinner for two people and a tasty lunch box idea for a fishing trip the following day.


Ingredients

4 chicken leg quarters (incorporating leg and thigh)
2 1" thick slices from a large white loaf
4oz (approx.) pizza mozzarella
1 tbsp roughly chopped flat leaf parsley
Salt and white pepper

Method

Put your oven on to preheat to 400F/200C/Gas Mark 6.

Arrange the chicken leg quarters on a roasting tray. Season with salt and white pepper. No butter, no oil - that's it. Place the tray in the oven for forty-five minutes.


When you remove your chicken leg quarters from the oven, it is of course imperative to ensure that they are fully cooked. This is done by piercing the thickest part of the thigh with a metal skewer and pressing down gently over the puncture mark with the edge of the skewer. Check that the juices are running clear. If any trace of red or pink can be seen in the juices, put the legs back in to the oven for a further seven or eight minutes and repeat this test. It is advisable to test each leg portion individually in this way. Cover the tray with tinfoil and allow the chicken legs to rest for fifteen to twenty minutes.


The bread slices which I have used here are taken from a large white bloomer. I have cut them at an angle to make them larger. I have allowed only one slice per portion but this is of course entirely down to preference. Begin by toasting the bread on one side only under a hot, overhead grill until golden.


Please note that the mozzarella cheese used here is the type used on pizzas. The softer type of mozzarella, usually sold in ball shapes and in brine would not be suitable. Slice the mozzarella to a thickness of about 1/4" and arrange it on the untoasted side of the bread. Break up the slices as required to evenly cover the bread. Place back under the grill until the mozzarella is melted and just beginning to bubble.


When your mozzarella toast is ready, transfer it to a chopping board and scatter the chopped parsley over the top. Cut each slice in half at an angle and plate along with a chicken leg quarter in each instance. Allow the two remaining chicken leg quarters to cool completely before putting them in a plastic container and refrigerating them overnight. Do not forget to take them with you on your fishing trip the next day!