Sunday 31 October 2010

Casseroled Lamb Cutlets with Garlic Mash


A very Happy Halloween to you all! Thank you to all of those who have commented in various different ways upon the Halloween recipe suggestion I shared on this blog a few days ago, my Fiendishly Hot, Gruesomely Garlicky, Halloween Ghoulash. I hope that you have had a chance to try it out for yourself, or are perhaps doing so tonight, and that you enjoy it every bit as much as I did. Today's recipe is another one featuring garlic, to help keep those Halloween vampires at bay, but in a considerably more subtle fashion than its predecessor...

Ingredients per Person

3 small lamb cutlets
1 small white onion
1 small carrot
2 medium potatoes
1 pint of fresh chicken stock
Pinch of dried mint
1 clove of garlic
2 tbsp frozen peas


Method

Put your oven on to preheat to 325F/170C/Gas Mark 3. Peel the onion and quarter it and scrape and roughly chop the carrot. Add them to a large casserole dish and lay the lamb cutlets on top. Scatter the mint over the lamb and pour over the (heated) chicken stock. Put the lid on the dish and place it in the oven for one and a half hours.


The potatoes should be peeled, roughly chopped and put on to a high heat in some cold water around half an hour before the lamb is due to come out of the oven. When the water begins to boil, the heat should be reduced to let it simmer until the lamb is ready. The lamb should be removed from the oven and the potatoes drained. The garlic clove should be peeled and grated before being added to the potatoes with around a tablespoon of the lamb stock. The potatoes should be mashed, spooned on to a plate and arranged in a mound to support the lamb cutlets as shown.


The frozen peas take only two to three minutes to cook in boiling water and should be started when the lamb and potatoes are ready and being arranged for the plate. The lamb cutlets should be gently leaned against the mashed potato and the peas arranged alongside. Some of the carrot and onion from the lamb stock can be added as additional garnish if desired.

Thursday 28 October 2010

Fiendishly Hot, Gruesomely Garlicky, Halloween Ghoulash


We are three days short of Halloween, the night of the year loved most by Ghosts, Ghouls, Vampires and Witches of all types. Sunday is the night that they have free reign on an often defenceless world...or do they? What defences do we have against them? What can we do to ward off the evil spirits and entities that invade our domain? It is well known that vampires do not like daylight, crucifixes, or wooden stakes - but we can hardly incorporate any of them in our Halloween dinner! So what else can we try? Although I have eaten many wooden steaks (yes, I know) in my time - or at least steaks that have all the taste of wood - there is a better alternative. We can turn to Mother Nature herself and borrow her oft cruelly labelled, "Stinking rose." Picture the scene... Count Dracula is about to plunge his unforgiving fangs in to the neck of the fair and seemingly defenceless maiden when she turns and lets him have it with both barrels: garlic breath!!!

As Halloween is on a Sunday this year, more people are likely to have the time to prepare a special dinner to mark the occasion. Although the actual dinner is not traditionally an integral part of Halloween, I tend to think that anything and everything is an excuse for a special dinner! I am posting this recipe today, therefore, to give you a bit of time to assemble your ingredients, make your plans and join me in a feast of Fiendishly Hot, Gruesomely Garlicky, Halloween Ghoulash.

Goulash (as it is of course in fact spelled) is a Hungarian recipe by origin and not a Romanian recipe, where this version would perhaps be more effective against Count Dracula and his kin in Transylvania. Nevertheless, I hope that you will try it out and enjoy it every bit as much as I did.

Please note that this is probably the hottest dish I have ever featured on this blog and although it is not exactly in the vindaloo category, if you do not like overly spicy food, you may wish to use only one red chilli pepper.


This dish takes about two hours to make from start to finish. The main reason for this is that I like to use shin of beef in rich stews. This is not only because it is considerably less expensive but because, provided it is cooked for the alloted period of time, I genuinely believe it produces better results. If you do choose to use a better quality steak for some reason, you can reduce the overall cooking time by half.

Ingredients for Two People
1/2lb shin of beef
2 red bell peppers (one green and one red)
1 small onion
1 medium potato
14oz can chopped tomatoes in tomato juice
6 small closed cup mushrooms
2 cloves of garlic
2 red chilli peppers (please remember point above!)
1 pint of fresh beef stock
1/2 tsp ground paprika
Salt and freshly ground black pepper


Method

The first step is to get the shin of beef started cooking. Cut it in to bite sized pieces but do not cut away or discard any of the fat. Fat and marbling are not only flavour, in a long cooking stew of this type, they are essential to stop the meat from drying out and becoming tough. Brown the beef in a large, dry pot, before adding the beef stock and the potato. The reason I am adding the potato so early is because I want it to break down and essentially assist in thickening the liquid component of the finished dish.

While the stock is heating towards a simmer, very finely chop the garlic and the chilli peppers. They should then be added to the simmering stock, along with the tinned tomatoes and the paprika. The mixture should then be left to simmer gently for one hour, stirring occasionally.


The onion, the mushrooms and the bell peppers are essentially going to form the body of the goulash, along with the beef. After the beef, tomatoes and potatoes have been simmering for an hour, the onion should be peeled and quartered, the bell peppers deseeded and chopped and both added to the pot with the de-stalked only mushrooms.


The ingredients should all now be given a thorough stir and left to simmer for a further half hour. Note that I do not season dishes of this type until the very end, as salt draws the moisture from meats during long cooking processes and makes it tough. At the end of the cooking time only, therefore, season, taste - and if necessary, season again.


Goulash is very often served with rice but because I have included potato in this recipe to give it extra body, I prefer to simply serve it with a plate of fresh, crusty bread, for diners to help themselves.

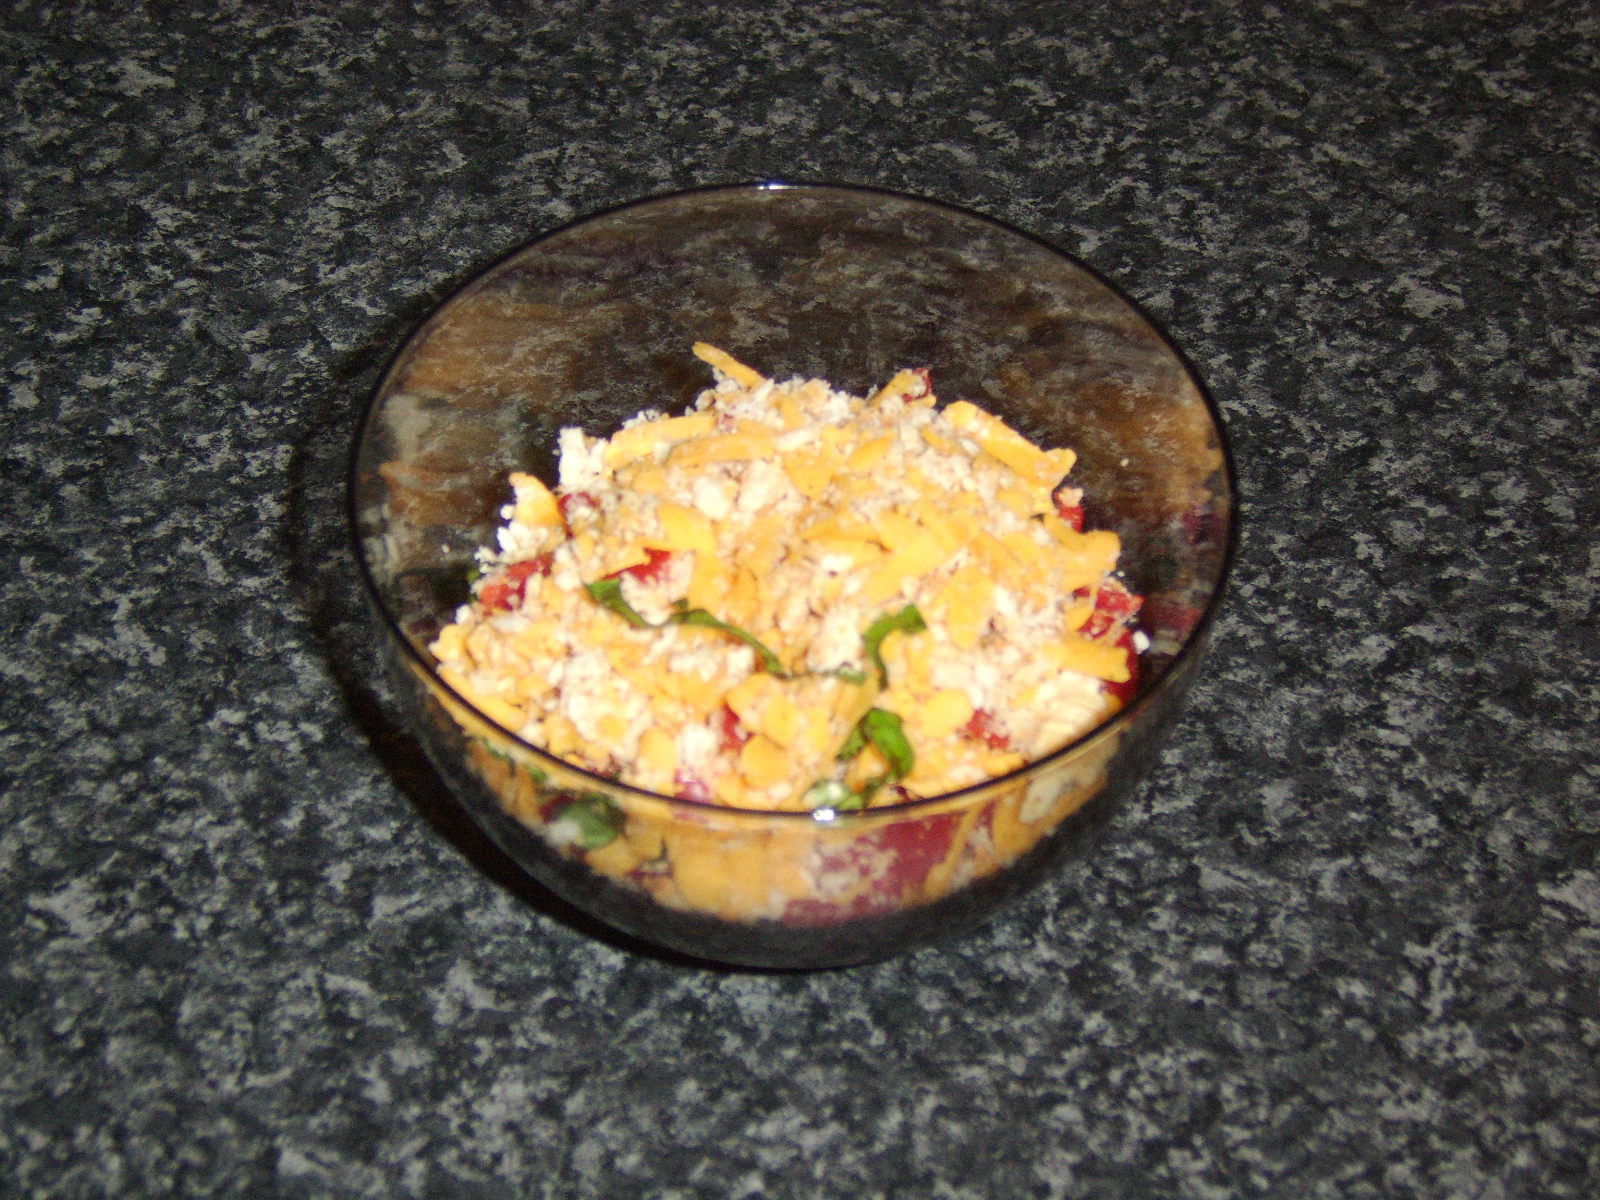
I gave the dish a final garnish of some roughly chopped basil and one more closed cup mushroom.

Pork Sausages with Mashed Banana Stuffing


There is no doubt that this will seem like a strange combination to many but it is actually truly delicious and is only a very slight variation of a dish I used to enjoy as a child. I remember eating big bangers (sausages,) stuffed with mashed banana and homemade tomato chutney and decided to revisit the concept. I did not have any homemade tomato chutney available but have served the sausages stuffed with mashed banana along with some sweet pickle, which complemented them very well.

Ingredients per Person

3 pork sausages
1/2 small banana
2 tbsp frozen peas
Half a tomato for garnish
Spoonful of sweet pickle

Method

It is necessary to first of all fully cook the sausages, prior to stuffing them with the banana. The way I like to do this is in a very little sunflower oil in a frying pan, over a low heat. The size of the sausages will determine the cooking time but be sure to cook them gently or they will burst, spoiling not only their final presentation but allowing a lot of their juices (ie, flavour) to escape in to the pan and be lost. These fairly small sausages took about twenty minutes to cook in this way.


When the sausages are cooked, the banana should be mashed with a fork in a small bowl or dessert dish. The banana should be fairly ripe to make it easier to mash. The sausages should then be cut along their length to a depth of abour two-thirds of the way down and carefully stuffed with the banana. A teaspoon is the best tool to use, I find, for this job. The sausages should then carefully be transferred to a grill tray and placed under a hot grill for two or three minutes.


The peas which I have served with the sausages and banana in this instance were frozen and simply cooked in some boiling water for two and a half to three minutes while the sausages and banana were under the grill.

Tuesday 26 October 2010

Baked Potato with Simple Beef Chilli and Cheese


A baked potato is a wonderful idea for dinner, or even for lunch. Baked potatoes are so versatile in what they can be made to accompany that they need never be served precisely the same way twice. On this occasion, I have served the baked potato with a simple beef chilli and some grated cheddar cheese. The chilli can either be prepared in advance and reheated before being served with the baked potato, or prepared as I have done in this instance while the potato is baking.


There are two very common problems experienced when baking potatoes. The first is that the potato remains hard in the middle, while approaching being overcooked on the outside and the second is that the potato is cooked for so long - in order to soften its centre - that the skin and outer part are inedible. There is a very simple way in which I get around these potential problems.

While the oven is preheating to 400F/200C/Gas Mark 6, the potato should be scrubbed under running water and thoroughly dried with kitchen towel. A thin metal skewer should then be carefully driven through the lateral centre of the potato until it protrudes from the other side (see image above.) The metal skewer conducts the heat right through the centre of the potato, allowing and ensuring more even cooking. A fork should be used to pierce the skin of the potato several times to allow steam to escape during cooking and the potato should be loosely wrapped in aluminium foil, to form a sealed tent. It should then be put on to a baking tray and in to the oven for an hour and a half.


The simple beef chilli will take around five minutes to prepare and twenty minutes to cook. Starting to prepare the chilli after the potato has been baking for about an hour should therefore be perfect for having the meal's two principal components ready at the same time.

Ingredients (Serves Two)
1/2lb minced (ground) beef
1 14oz can of chopped tomatoes in tomato juice
1 8oz can of red kidney beans in water
1 yellow bell pepper
1 red chilli pepper
1 clove of garlic
Salt and freshly ground black pepper

Method

The first step is to quickly brown the mince in a large, dry pan. The yellow bell pepper should be deseeded and roughly chopped. The red chilli pepper should be finely chopped, with the seeds left in for maximum bite. The garlic clove should be peeled and finely chopped. The red kidney beans should be drained through a colander or sieve and washed under running cold water.

When the mince is browned, the peppers and garlic should be added to the pan to sweat off for a couple of minutes before the red kidney beans and chopped tomatoes are added. The heat should be turned up until a simmer is achieved, before being reduced and the chilli left to simmer for around twenty minutes. Seasoning with salt and pepper should be undertaken at the end of the cooking process.

When the potato has been baking for its alloted time, it should be removed from the oven and - before being unwrapped - carefully and gently squeezed (wearing oven protecting gloves) to help fluff up the inside. It should then be carefully unwrapped and if it is cooked properly, the skewer should very easily be pulled free.

The baked potato should be sat on a plate and cut in to quarters, not quite all the way through. It should then be opened up and the chilli spooned on top, before the optional grated cheese and a couple of basil leaves are added as a final garnish.

Thursday 21 October 2010

Cheese, Bacon and Pineapple Pasty with Chips


Pasties can be made in so many different shapes and forms but it is a great pity that many people automatically assume that they have to buy pasties pre-prepared and do not consider how easy they are to actually make at home. This is especially true where the puff pastry is purchased already made but the other ingredients are prepared from scratch. This recipe for Cheese, Bacon and Pineapple Pasties falls in to that category.


Ingredients per Pasty

3oz puff pastry
3 medallions (or rashers) of bacon
2oz cheddar or other hard cheese
1 pineapple ring (if canned, should be in own juice and not syrup)
Freshly ground black pepper
Beaten egg for glazing


Method

The bacon has to be cooked and allowed to cool prior to its incorporation in the pasty. This is therefore the first step but the bacon should be cooked and no more, not fried or grilled to the point of being crisp.

When the bacon has cooled, the oven should be put on to preheat to 400F/200C/Gas Mark 6. The bacon should then be sliced to a thickness of about 1/4", the cheese coarsely grated and the pineapple fairly finely sliced. The three ingredients should then be mixed together, with a little freshly ground black pepper. Note that additional salt is unlikely to be necessary, due to the saltiness obtained from the bacon.


The puff pastry should be rolled out evenly on a floured surface to the extent where a 10" dinner plate can be used as a template to cut a perfect circle. The pastry will be fairly thin at this stage but this is deceptive as it will puff up considerably during cooking. The filling should then be spread evenly over one half of the circle, leaving a border of up to 1".


The border of the filled half of the circle should be lightly glazed with beaten egg before the other half of the pastry is folded over and the edges gently crimped. A large baking tray should be greased with butter and the pasty placed on the tray. A cut should be made in the top of the pasty to allow steam to escape during cooking, before it is liberally glazed with the beaten egg and placed in to the preheated oven for 35/40 minutes, until beautifully risen and golden.


The cooked pasty can be served with chips as in this example, or even alone as part of a snack or light lunch. Equally, it may be served either hot or cold.

Monday 18 October 2010

Honey Roasted Chicken Wings and Vegetables


There are certain nights when we just can not face spending a great deal of time preparing dinner. We may have had a really hard day and just want to stick something in the oven to cook while we flop down in front of the TV, perhaps with a relaxing drink. The temptation in such instances is that we resort to microwaveable meals or similar and that the idea of home cooking is abandoned for the evening.

While nights such as these are often unavoidable, it does not mean that we have to forego our healthy, home-cooked evening meal. This honey roasted chicken wings and vegetables dish requires next to no preparation before it is stuck in the oven to cook, while you enjoy some well earned rest and relaxation.


Ingredients for Two People

12 chicken wings
6 small to medium potatoes
2 small red bell peppers or one normal size
1 medium white onion
2 tbsp liquid honey
1 tbsp olive oil
Salt and freshly ground black pepper


Method

The oven should be put on to preheat to 400F/200C/Gas Mark 6.

The potatoes should be washed but not peeled. They should each then be chopped in half. The bell pepper(s) should be de-seeded and roughly chopped, while the onion is peeled and quartered.

The olive oil should be added to a large baking tray, the chicken wings arranged as shown and the vegetables scattered around them alternately. The items should be liberally seasoned with salt and freshly ground black pepper before the honey is drizzled evenly across the top. The tray should be put in to the oven for fifty minutes to an hour, depending upon how well browned you want your chicken wings to be.


When the cooking time has elapsed, the tray should be removed from the oven and the wings and vegetables divided evenly between two warmed plates.

Sunday 10 October 2010

Cheese and Herb Crusted Salmon Fillet with Creamed Dill Mash


Salmon represents an extremely tasty and healthy dinner option. It can, however, become slightly repetitive if you like to enjoy its associated benefits on a regular basis. This incredibly simple recipe merely incorporates a crispy crust on top of the salmon fillet, adding a whole new dimension to its presentation and its taste, without significantly adding to the overall cooking time of the combined dish.

Ingredients per Person

2 medium potatoes
1 fillet of fresh salmon (skin on)
1 tsp freshly chopped dill (plus small sprig for garnish)
1 tbsp fresh breadcrumbs
1 tbsp grated cheddar cheese
1/2 tsp freshly chopped basil leaves
1/4 red bell pepper (finely diced)
2 tbsp double (heavy) cream
2 lettuce leaves
1/2 tomato
Flour for dusting
Salt and pepper
Sunflower oil and butter for frying


Method

The first step is to get the potatoes on to boil. They should be peeled, roughly chopped and added to a pot of cold, salted water. The pot should be put on to a high heat until the water begins to boil, then the heat should be reduced to achieve a low simmer for twenty-five minutes.

About ten minutes before the potatoes are due to be ready, some flour should be scattered over a dinner plate and seasoned with salt and pepper. A little sunflower oil and a small knob of butter should be added to a frying pan and put on to a medium heat. The salmon fillet should be patted in the flour on its skin side only, before the excess flour is gently shaken off and it is added to the pan, skin side down.


The breadcrumbs, cheese, basil and red pepper should be added to a small bowl, seasoned with salt and pepper and stirred well. The salmon should be fried on a moderate to high heat until it can be seen that it has cooked approximately two-thirds of the way through from the bottom up. At this time, the heat should be turned off completely and the salmon carefully turned over on to its flesh side, which will allow it to complete cooking in the residual heat only while the topping is added.


The skin of the salmon should have crisped up nicely and be easy to remove with a knife. Take care not to also damage the flesh of the fillet during this process. The breadcrumb and cheese mix should then be patted liberally on top of the salmon fillet. Some of the mix will spill in to the pan but don't worry about this as it will not affect presentation on the plate. The frying pan should then be placed under a hot, overhead grill for just a couple of minutes to melt and crisp the topping.


While the salmon is under the grill, the potatoes should be drained and mashed with the cream and chopped dill. They should then be added to the plate, along with the lettuce and tomato. When the slamon's topping has crisped as required, the salmon fillet should be carefully lifted with a fish slice and sat gently atop the lettuce leaves to complete the dish.

Wednesday 6 October 2010

Toad in the Hole with Homemade Sage and Onion Gravy


The unquestionably curiously named Toad in the Hole is a British dish made chiefly from egg based batter and sausages. There are no toads, frogs, or any other forms of reptile, to be found among its ingredients. It can in theory even be one of the simplest of all dishes to make, simply by beating some eggs, pouring them in to hot oil in an ovenproof dish and adding some skinless sausages. I have taken it a little bit further on this occasion, using speciality sausages and serving it with homemade sage and onion gravy. It remains, however, a very straightforward dish to prepare.


Toad in the Hole is normally prepared for two or more people. The quantities in this instance, however, provide a satisfying meal for one person.

Ingredients

3 organic pork, herb and mustard seed sausages
2 eggs
1 tbsp plain (all purpose) flour
Salt and freshly ground black pepper
1 tbsp sunflower oil


Method

The first step is to put the sunflower oil in to a casserole dish and put the dish in to the oven to preheat to 220C/425F/Gas Mark 7. The eggs should then be broken in to a bowl and beaten. They should be seasoned with salt and pepper and the flour beaten in to form a batter.

It is not essential but a much better presentation will be achieved if the sausages are skinned prior to them being cooked. This is best done with a fork, rather than with a knife. Simply ease one of the outside tines of the fork under the skin at one end of each sausage and carefully slit through its entire length, much as opening a letter with a letter opener. The skin can simply then be peeled away and discarded. It is worth taking a minute or so to do this properly, so as not to damage the shape or form of the sausages.

When the oil is heated, the dish should carefully be removed from the oven and sat on a wooden board on a flat surface. The batter should then be poured in to the hot oil (be careful of spluttering!) and the sausages sat on top. The dish should be returned to the oven for around thirty minutes.


Sage and Onion Gravy

As soon as the egg and sausages are in the oven, it is time to start preparing the sage and onion gravy. This consists simply of the following:

1/2 white onion (thinly sliced)
1oz butter
1/2 tsp dried sage
4fl oz fresh vegetable stock (chicken stock may be used as an alternative)

The butter is firstly melted in a saucepan before the onion and sage are added. The mix should be stirred for a few minutes until the onions begin to turn transluscent. The heat should then be reduced to minimum and the onions left to break down for around fifteen minutes.

It is important to heat the stock in a separate pot before thereafter adding it to the onions and gently simmering for ten minutes.


After about half an hour, the toad in the hole is as cooked as I like it to be. In most instances, it will be left until the egg turns a dark brown (is burned, in my eyes!) and has crisped up to an almost puff pastry like texture. If you prefer it this way, by all means give it another ten minutes or so in the oven.


The Toad in the Hole should lift very easily out of the casserole dish with the aid of a large spatula on to a plate. The onion gravy should then be spooned carefully over the top and the finished dish garnished with a twist of tomato slice and a small sprig of fresh basil.